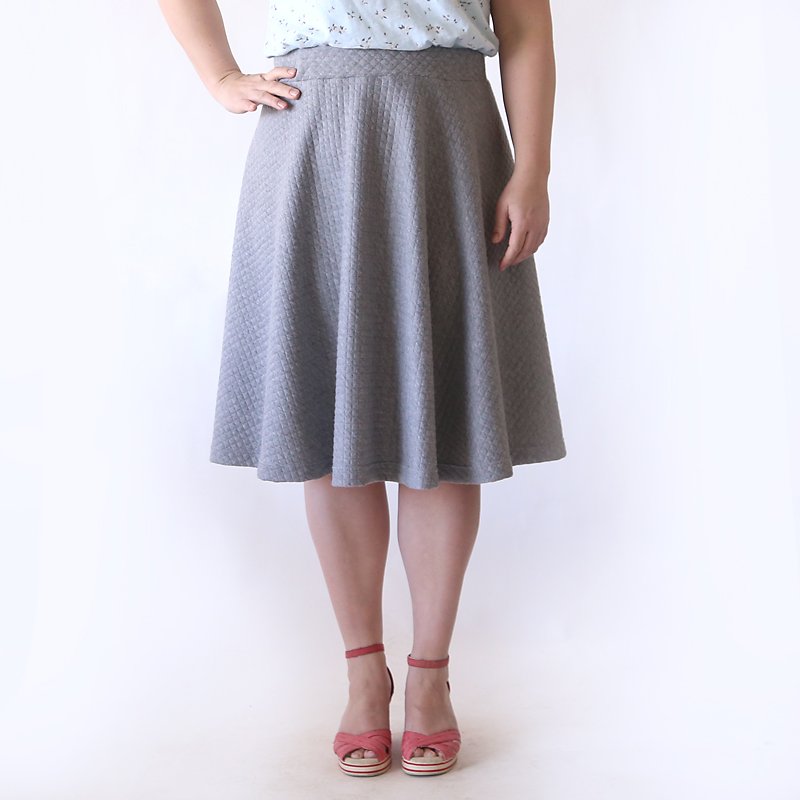
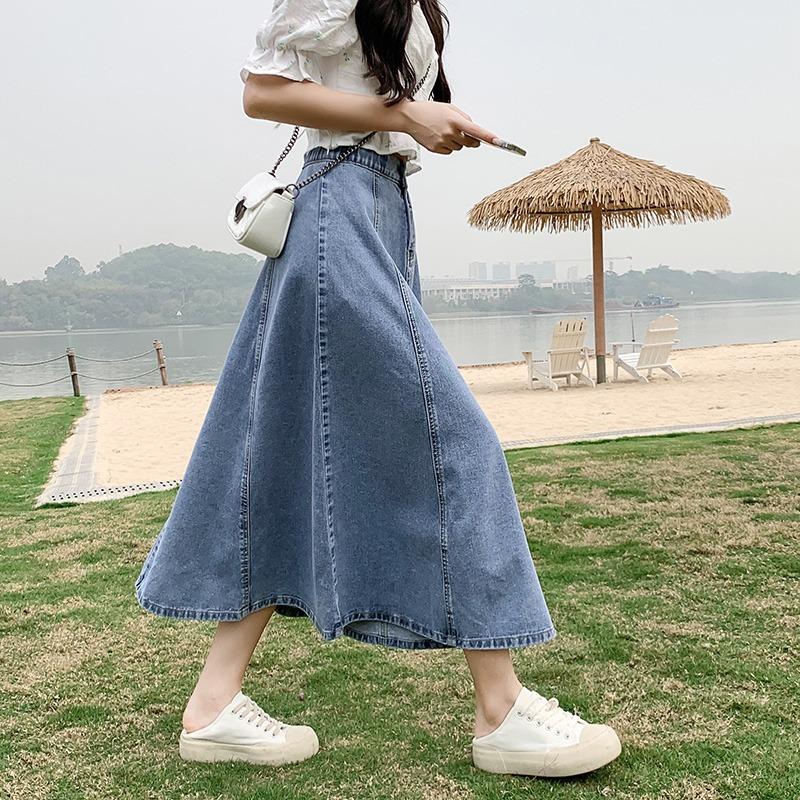
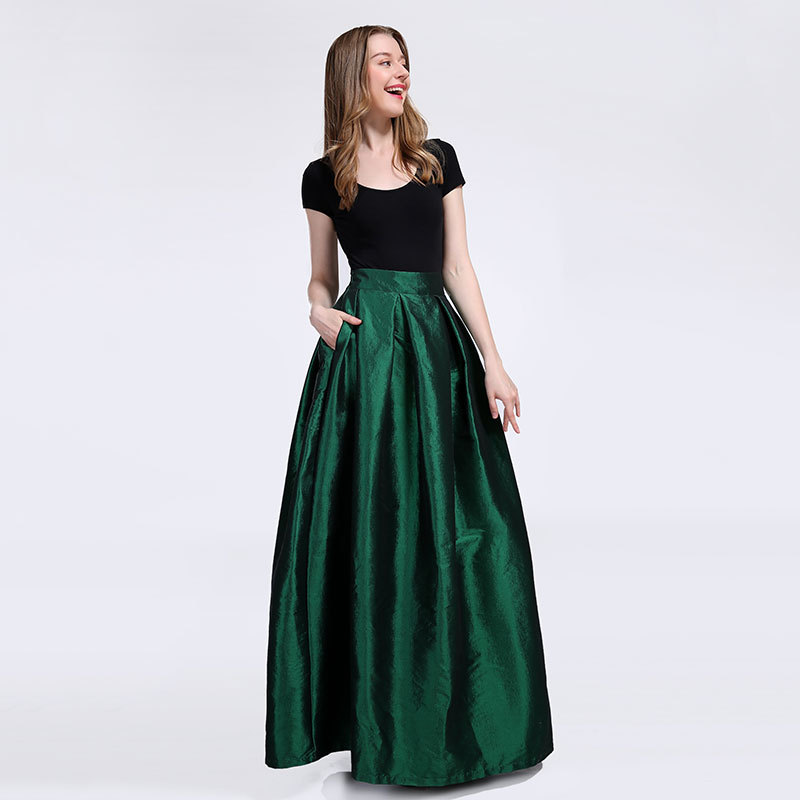
Introduction to Circle Skirts
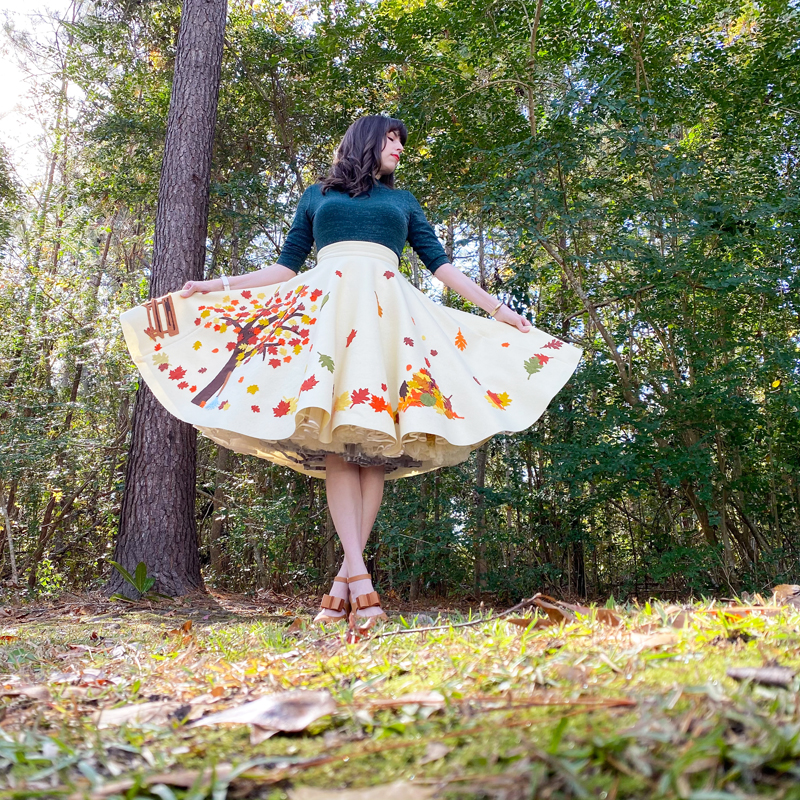
Circle skirt tutorial! The circle skirt, featuring a timeless silhouette, continues to captivate fashion enthusiasts worldwide. Its flared design, reminiscent of a ‘full circle’, gracefully twirls around the body creating an elegant aesthetic suitable for various occasions. Perfect for DIY enthusiasts looking to add a custom piece to their wardrobe, sewing your own circle skirt can be both fulfilling and fun. This tutorial will guide you through the basic steps, ensuring even beginners can create a stunning skirt with ease.
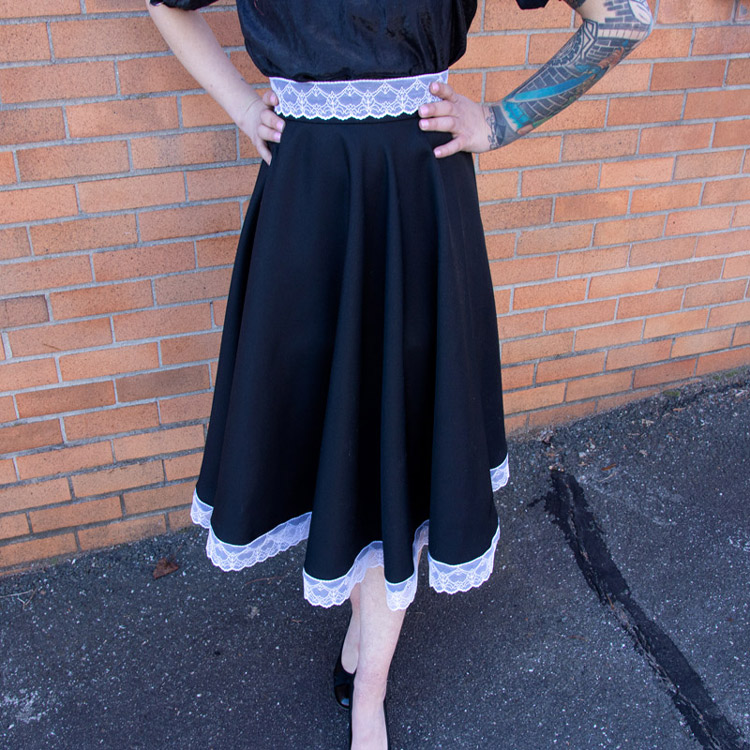
From selecting the right fabric to the final hemming, we’ll navigate through each stage with clear instructions. Get ready to infuse your personal style into a chic, twirl-worthy circle skirt that’s uniquely yours.
Materials Needed for Your DIY Circle Skirt
Before diving into the creation of your circle skirt, let’s gather the essentials. You’ll need the following materials:
- Fabric: Choose a drapey fabric like cotton, linen, or satin that complements your design vision. The amount will vary based on your measurements, but typically 2 to 3 yards should suffice for most skirts.
- Measuring Tape: An accurate measuring tape is crucial for taking precise measurements of your waist and the desired length of the skirt.
- Scissors: A sharp pair of fabric scissors will make cutting your material a breeze.
- Sewing Machine: For a professional finish, a sewing machine is your best friend. If you don’t have one, hand-stitching is an option, but it’ll require patience and time.
- Thread: Match your thread color to your fabric for a seamless look.
- Waistband Interfacing: This will give your waistband structure and support.
- Zipper: Depending on your design, a zipper might be necessary for closure.
Consider this checklist as your starting guide to crafting a circle skirt that’s all your own!
Measuring and Calculating Fabric for Your Skirt
Before you can cut your fabric, it’s essential to take proper measurements to ensure your circle skirt fits perfectly. To calculate the amount of fabric you’ll need, follow these steps:
- Waist Measurement: Using a measuring tape, measure around the narrowest part of your waist where you want your skirt to sit. Ensure the tape is snug but not tight.
- Skirt Length: Decide the desired length of your skirt from the waist down. This could be anything from above the knee to a full-length skirt.
- Calculating the Radius: To determine the waist radius for the inner circle of the skirt, divide your waist measurement by 6.28 (the circumference of a circle). This calculation will give you the radius that you will mark on your fabric.
- Total Length: Add the skirt length to the waist radius to get the total length, this includes the inner circle plus the desired skirt length.
- Fabric Width Check: Make sure the fabric width can accommodate the total length measurement from the waist to the bottom of the skirt, factoring in the waist radius. For a fuller skirt, you may need wider fabric or may have to piece fabric together.
Once you have these measurements, you can move on to the next step of cutting your fabric to begin creating your DIY circle skirt.

Cutting the Fabric to Create a Circle Skirt
Cutting your fabric correctly is key to a flawless circle skirt. Follow these easy steps:
- Fold Fabric: Lay your fabric flat and fold it in half, and then in half again, so you have a square.
- Mark Radius: Using your waist radius measurement, measure from the corner of the folded edge, marking the radius with tailor’s chalk in an arc.
- Mark Length: From the same corner, measure the total length (waist radius + skirt length) and mark as you did with the waist.
- Cut Waist: Carefully cut along the chalk line for the waist.
- Cut Skirt Length: Cut along the outer chalk line for the skirt’s length.
You should now have a donut-like shape of fabric which, when unfolded, becomes a full circle with a hole in the middle for your waist.
Sewing Techniques for a Professional Finish
After cutting your fabric, it’s time to move on to the sewing part of your circle skirt. To achieve a professional finish, follow these sewing techniques:
- Stitch the Sides: If your fabric was pieced together, start by stitching the open sides of the skirt together, leaving room for the zipper if necessary.
- Sew Seams: Use a straight stitch to sew the seams, making sure to backstitch at the beginning and end for durability.
- Press Seams Open: Always press your seams open with an iron. This will lay the fabric flat and give your skirt a neater appearance.
- Overlock Edges: If you have a serger or an overlock stitch on your sewing machine, finish the edges of the fabric to prevent fraying and give a tidy look inside your skirt.
- Baste the Waist: To fit the waistband properly, baste around the waist of the skirt fabric.
Remember to check your sewing machine’s tension and stitch length before beginning to ensure smooth stitching. By carefully following these steps, you’ll have a beautifully constructed circle skirt with a professional finish.
Adding a Waistband and Zipper Closure
Securing the Waistband
To provide stability and a polished look to your circle skirt, attaching a waistband is crucial:
- Cut Waistband: Measure your waist once more and add seam allowances to cut out your waistband from the fabric.
- Interfacing: Apply fusible interfacing to the waistband to give it structure.
- Pin Waistband: Align the waistband to your skirt’s waist, right sides together, and pin in place.
- Sew Waistband: Stitch along the skirt and waistband edge.
- Fold and Press: Fold the waistband in half, wrong sides together, and press neatly.
- Enclose Raw Edge: Tuck the raw edge of the waistband inside and stitch it closed.
Installing the Zipper
If your skirt design includes a zipper, follow these steps:
- Prepare Seam: If unsewn, leave a portion of your skirt’s seam open where the zipper will go.
- Position Zipper: Place the zipper face down on the open seam, aligning the zipper teeth with the seam allowances.
- Pin Zipper: Secure the zipper in place with pins or basting tape.
- Sew Zipper: Using a zipper foot, stitch close to the zipper teeth.
- Secure Ends: Ensure the top and bottom of the zipper are well-secured.
With a waistband and zipper in place, your circle skirt is almost ready. These elements are not only functional but add a professional touch to your handmade garment.
Final Touches: Hemming and Perfecting Your Circle Skirt
Once you’ve attached the waistband and zipper, you’re on the home stretch to completing your beautiful circle skirt. The final touch is hemming the bottom to give it a perfect finish. Here’s how you can hem and perfect your circle skirt:
- Prep the Hem: Hang your skirt for a day or two to let the fabric settle. This allows the hemline to even out as the bias can stretch out over time.
- Measure the Hem: Put on the skirt and measure the desired final length. Mark the hemline evenly all around the skirt using tailor’s chalk or pins.
- Cut Excess Fabric: Trim any excess fabric beyond your hemline, ensuring you keep an even seam allowance all around.
- Fold and Press: Fold up the hem to the inside of the skirt by the seam allowance and press with an iron. Then, fold once more to encase the raw edge and press again for a crisp edge.
- Stitch the Hem: Using a straight or blind hem stitch, sew close to the inner fold to secure the hem. Go slowly to maintain an even stitch line.
By following these steps, your DIY circle skirt will look polished and ready to wear. The neat hemming adds durability and a professional touch to your handcrafted creation.
Styling Tips for Your Homemade Circle Skirt
Now that you’ve completed your circle skirt, it’s time to show it off. Here are some styling tips to make your DIY creation a fashion statement:
- Casual Chic: Pair your skirt with a tucked-in tee and sneakers for a relaxed yet stylish look.
- Office Ready: Match your skirt with a blouse and blazer, and add pumps for a professional ensemble.
- Evening Out: Dress up your skirt with a sequined top and strappy heels for a night out.
- Seasonal Layers: Add tights, boots, and a cozy sweater for a winter-friendly outfit.
No matter how you choose to style your circle skirt, you’ll take pride in knowing it’s a one-of-a-kind piece that you created with your own two hands.
Styling Tips for Your Homemade Circle Skirt
Congratulations on completing your very own circle skirt! Now it’s time to put that masterpiece to work with some fashion-forward styling tips.
- Go Casual: For day-to-day wear, combine your skirt with a simple white T-shirt tucked in at the waist and a pair of classic sneakers. Accessorize with a denim jacket for that effortlessly chic vibe.
- Workday Wonder: Transform your skirt for an office setting by teaming it with a fitted blouse and a structured blazer. Enhance the look with a pair of smart pumps and a statement belt to cinch in the waist.
- Night Elegance: Ready for an evening affair? Elevate your skirt by partnering it with an elegant silk top or a beaded camisole. Slip into some high heels and add a touch of sparkle with fine jewelry to complete this sophisticated ensemble.
- Winter Warm-Up: Transition your skirt into the colder months by layering with thick tights or leggings, and pairing with ankle boots. Top it off with a warm turtleneck sweater, and you’re winter-ready!
By following these simple styling cues, you’ll ensure that your DIY circle skirt is not only a testament to your sewing skills but also a versatile piece in your fashion arsenal.
